Skip to content


Many Cheverly homeowners put off replacing an aging air conditioner simply because they do not know what the process involves. The unknown feels risky, so they nurse a failing system through one more humid Maryland summer. In reality, a professional AC installation follows a clear, predictable sequence that a good contractor will happily explain before any work begins.
Knowing what to expect turns a stressful project into a manageable one. From the first evaluation to the final walkthrough, each step exists to make sure your new system is sized correctly, installed safely, and verified to perform. When you understand the sequence, you can also spot a contractor who is rushing or skipping the details that actually matter.
This guide walks through exactly what happens during an AC installation in Cheverly, step by step. It covers the in-home evaluation, choosing the right equipment, preparing your home, removing the old system and installing the new one, and the testing that confirms everything works. By the end, replacing your system will feel far less intimidating.
Step 1: The In-Home Evaluation and System Recommendation
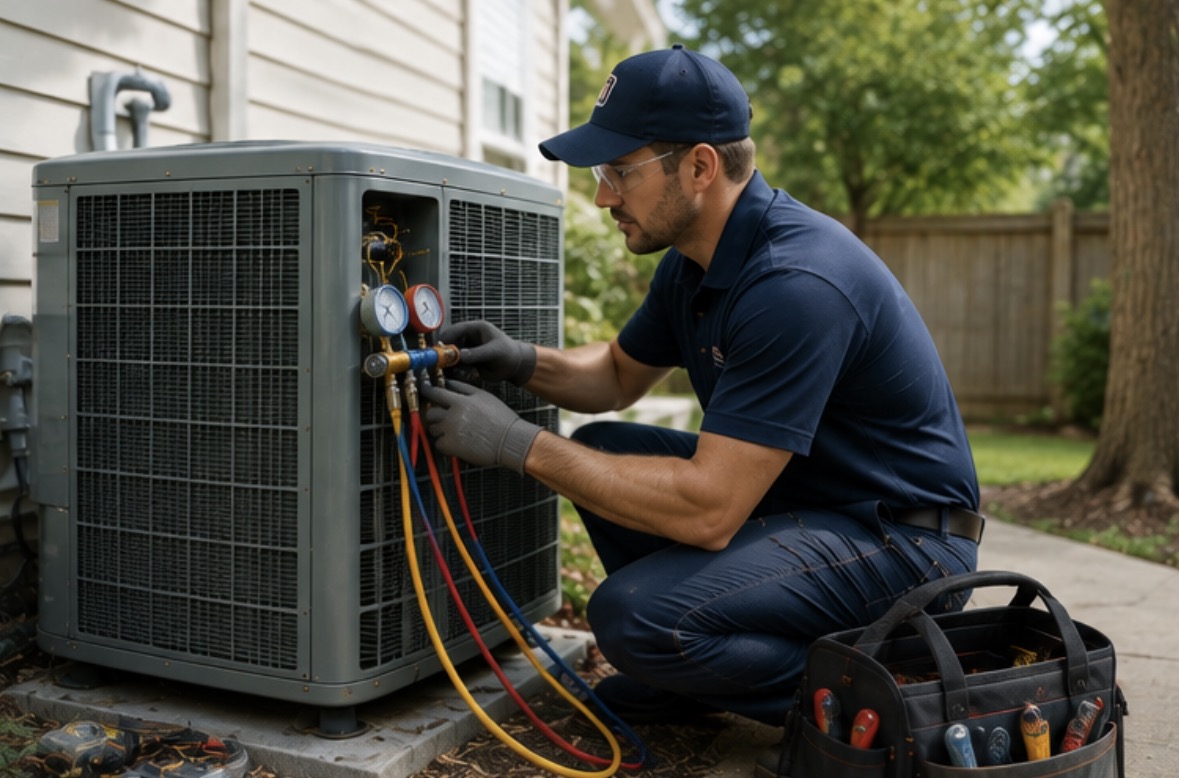
Every quality installation starts with a visit, not a phone quote. A technician inspects your current system, ductwork, electrical setup, and the spaces the equipment occupies. They ask how your home cools today, which rooms struggle, and what your comfort and budget goals are. This evaluation is where problems the old system masked finally come to light.
What the Technician Should Evaluate
- Existing AC: Age, condition, performance, and repair history.
- Ductwork: Condition, airflow, accessibility, and potential restrictions.
- Electrical system: Existing connections and requirements for the new equipment.
- Equipment location: Space available for indoor and outdoor components.
- Comfort problems: Rooms that stay warmer, humidity concerns, or inconsistent cooling.
- Your priorities: Budget, efficiency, reliability, and expected system lifespan.
From that assessment, the contractor recommends equipment options rather than a single take-it-or-leave-it unit. A good company explains the trade-offs between efficiency levels and features in plain language. If your system needs frequent fixes, they may also weigh repair against replacement honestly, so you are not pushed into a new unit before it truly makes sense.
Step 2: Choosing the Right Size and Equipment
Sizing is the most important decision in the entire project. Rather than copying your old unit’s tonnage, a professional performs an ACCA Manual J load calculation that accounts for your square footage, insulation, windows, and ductwork. This prevents the oversizing that leaves Maryland homes cold but clammy, and the undersizing that never keeps up on the hottest days.
| Consideration | Why It Matters |
|---|---|
| System size | Determines whether the AC can meet the home’s cooling load |
| Efficiency rating | Affects energy use and operating costs |
| Equipment match | Helps indoor and outdoor components operate as a designed system |
| Ductwork | Determines whether conditioned air can move properly through the home |
| Thermostat | Controls how the new system operates |
| Warranty | Establishes coverage for equipment and potentially labor |
With the right size determined, you and the contractor select AHRI-matched equipment, meaning the outdoor unit, coil, and air handler are certified to perform together. This is also where you finalize the efficiency level and any add-ons. Choosing carefully here is the difference between a system that merely runs and one that delivers its rated comfort and savings.
Step 3: Preparing Your Home Before Installation Day
Before the crew arrives, a little preparation keeps the day smooth. The contractor confirms the schedule, secures any required Maryland permit, and reviews the plan with you. On your side, clearing a path to the indoor and outdoor units and keeping pets and children away from the work areas helps the installers move safely and efficiently through the job.
Before the Crew Arrives
- Clear the pathway: Remove boxes, furniture, or other obstacles between the entrance and equipment.
- Protect pets: Keep pets in a separate area while technicians are working.
- Secure valuables: Move fragile items away from the work area.
- Clear the equipment area: Make sure technicians can access the indoor and outdoor units.
- Discuss access: Let the contractor know about gates, parking restrictions, or other property limitations.
A professional crew also protects your home when they arrive. They lay down floor coverings along their path, protect walls and corners, and set up their tools and materials before touching the old system. These small steps show respect for your home and are an easy early sign that you hired a contractor who takes the details seriously.
Step 4: Removing the Old System and Installing the New Unit
First the crew safely removes the old system, recovering any remaining refrigerant according to regulations rather than venting it. They disconnect the outdoor condenser and indoor equipment, then address the connections a new unit requires. This is often where minor duct, electrical, or pad corrections happen so the new system starts on a solid, reliable foundation.
Next the new equipment goes in. The installers set the outdoor unit and indoor coil or air handler, connect the refrigerant lines, and make code-compliant electrical and thermostat connections. Careful work here, including brazing the lines cleanly and sealing every connection, is what prevents the leaks and airflow problems that would otherwise trouble the system for years.
Step 5: Testing, Commissioning, and the Final Walkthrough
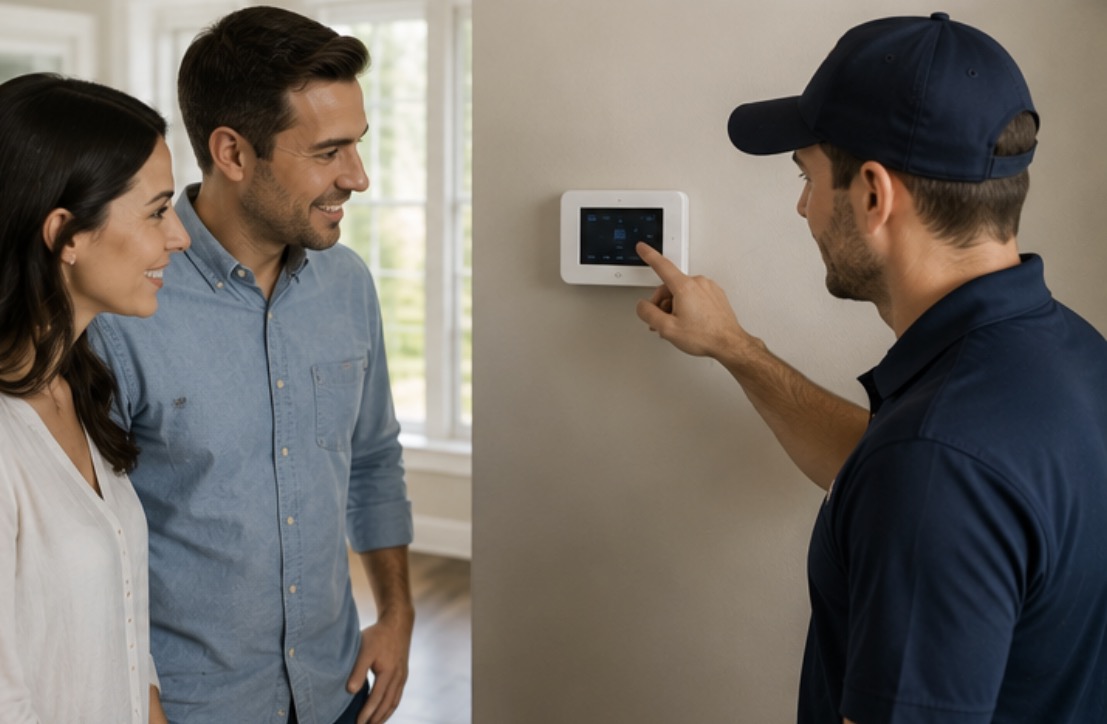
Installing the equipment is only half the job. Before leaving, the crew commissions the system, pulling a proper vacuum on the refrigerant lines, charging it precisely, and verifying airflow, static pressure, superheat, subcooling, and temperature split. These measurements confirm the system meets the manufacturer’s specifications and will actually deliver its rated efficiency in your home.
| Final Check | Purpose |
|---|---|
| Refrigerant system | Confirms proper system operation |
| Airflow | Checks that conditioned air is moving appropriately |
| Temperature performance | Confirms the system is producing the expected cooling |
| Electrical operation | Verifies safe equipment operation |
| Thermostat | Confirms proper communication and control |
| System startup | Identifies problems before the crew leaves |
Finally comes the walkthrough. The technician runs the system, confirms cool, even air at the registers, and shows you how your new thermostat works. They review maintenance recommendations and answer questions before packing up. A thorough handoff like this is the mark of a professional AC installation done right the first time.
How Long Does an AC Installation Take?
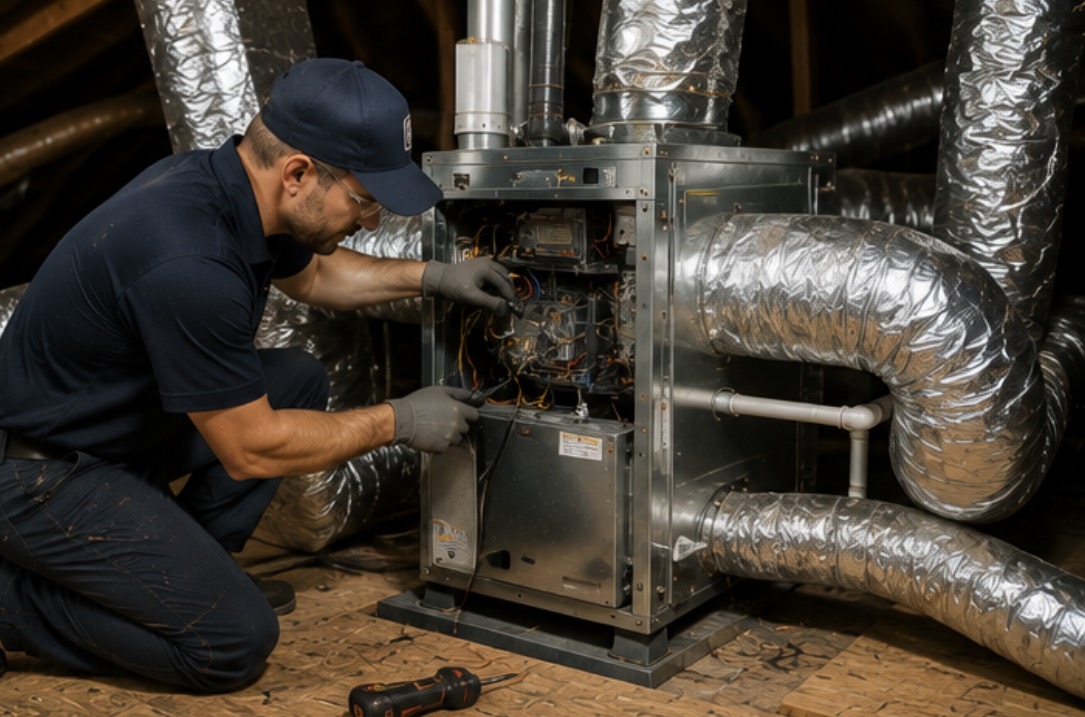
Most standard AC replacements in Cheverly are completed in a single day, often four to eight hours depending on the home and system. Projects that involve significant ductwork changes, electrical upgrades, or a switch to a heat pump can extend into a second day. A good HVAC contractor tells you the realistic timeline upfront, never partway through the job.
Factors That Can Affect Installation Time
- Equipment access: Difficult-to-reach indoor or outdoor equipment can add labor time.
- Ductwork changes: Modifications require additional installation work.
- Electrical upgrades: Changes to existing electrical components can extend the project.
- System configuration: A heat pump or more complex setup may require additional work.
- Unexpected conditions: Problems discovered after removing the old equipment can change the schedule.
Ask your air conditioning contractor for an expected installation window before the project begins. That gives you a realistic idea of when technicians will arrive, how long they expect to work, and when you can expect the new AC to be operational.
Why Choose Nero’s Heating & Air for Your AC Installation in Cheverly
A smooth AC installation depends on the contractor’s process far more than the box outside. Nero’s Heating & Air is locally rooted in Cheverly with NATE-certified technicians, and we follow every step in this guide on each installation. We would rather do the job carefully and correctly than rush through it and leave problems behind for you to discover.
Our team evaluates your home, sizes the system with a proper load calculation, installs AHRI-matched equipment, and commissions it to verify real performance. We protect your home during the work and walk you through the finished system before we leave. That thorough approach is why Cheverly homeowners trust us with their comfort and their homes.
Whether you need a straightforward air conditioning replacement, fast AC repair while you plan, or year-round protection through a maintenance plan, Nero’s Heating & Air brings honest pricing and 0% financing for qualified customers to every Cheverly home. When you are ready to replace your system, Nero’s Heating & Air is ready to do it right.